Maplytics has always tried to redefine the presence of Sales and Service representatives on field in order to deliver best possible experience to both clients and reps. Thus, this time to improve productivity and performance of field reps we have added a whole new feature of Check-In in our latest update. This feature enables tracking the activity of field team and also use Geofencing around the location of appointment.
In our last blog, we showed how field reps can Check-In/Check-Out at location of visit. Let’s understand how to use this feature to track field productivity with another in-depth use case. Rosalina is the sales manager for her company “Secure Eagle” which is into insurance. She has a team of 200 field representatives who visit the customers and prospects daily in order to help them with their insurance policies. The team leaders have routes created and assigned to the field reps so that they can follow the route and meet all clients. While they are on field they use the feature of Check-In in order to register their arrival and departure time for the checkpoints they are going to.
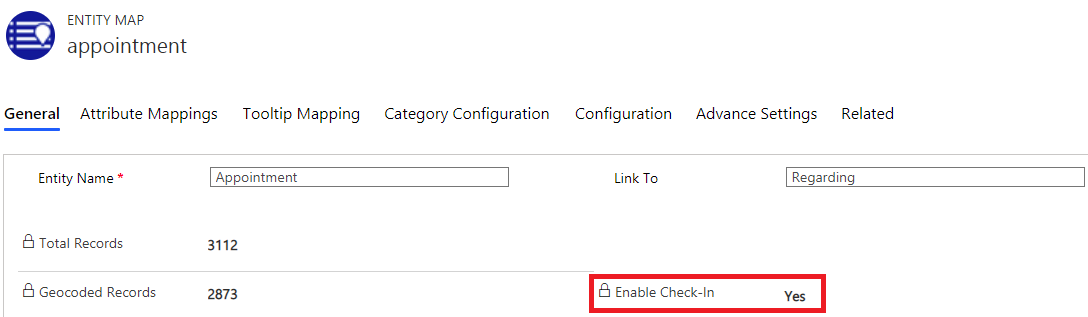
To Enable the Feature of Check-In, she can follow the steps mentioned below:
Go to Maplytics Apps> Settings > Entity maps > Required Entity map > Enable Check-In > Set it to ‘Yes’
This will allow the sales team to Check-In and Check-Out for the respective Entity records.
Now, Rosalina can use ‘Geofencing’ in order to have only valid Check-In and Check-Out records done on field. Geofencing is a process of creating a virtual boundary of a specified radius around a location. Users will not be able to Check-In/Check-Out unless they are within this radius. To enable Geofencing, she can follow below steps:
Maplytics App > Settings> Maplytics Configuration Detail Record > Default Configuration Record > Set Geofencing as ‘Yes’
Here, she will also get the option to choose whether to allow sales team to Check-Out or not.
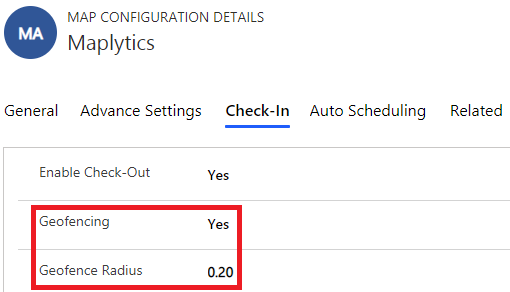
This will provide her an option to set Default Geofence radius. Now, with this the field reps will be able to Check-In or Check-Out only when they are within this Geofence Radius. This restricts any field rep from Checking-in and out while they are not in the location for the appointments. It helps Rosalina to have the sales team to create only valid records for Check-In/Check-Out.
Rosalina can also disable Geofencing in order to track defaulters. She can follow the steps below to disable Geofencing.
Maplytics App > Settings> Maplytics Configuration Detail Record > Default Configuration Record > Set Geofencing as ‘No’
She can now set a Default radius which will be used to define Check-In/Check-Out records as Valid or invalid. If the field rep is outside this Default radius the Check-In /Check-Out records done will be invalid.
The salespeople can easily Check-In/Check-Out through map or record page as well. Field Reps can click on any of the records on map to open tooltip card to click on Check-In button and can again on same button to Check-Out after they have checked-in.
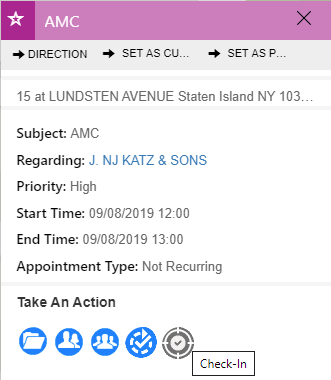

They can also open a record and use the buttons on the page to Check-In and Check-Out.


Now Rosalina can easily plot Check-In/Check-Out records on map to track the performance of salespeople and observe the defaulters. She can choose ‘Check-In’ as data source and required view to plot the data as shown below. She can differentiate between the valid and invalid Check-In/Check-Out records based on the shape of the pushpins.
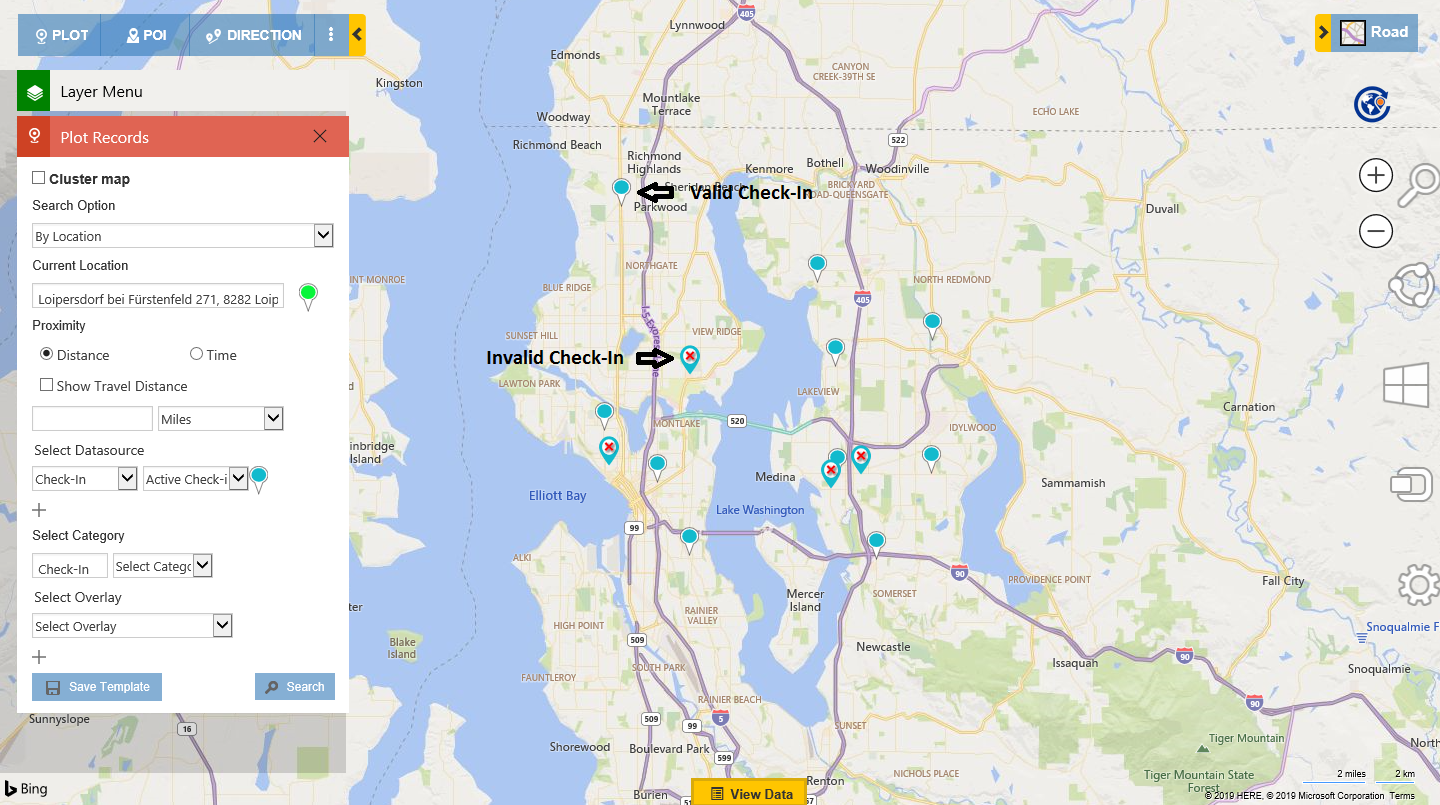
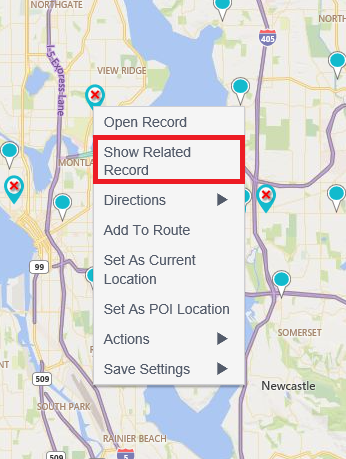
She can also Right-click on any of Check-In/Check-Out records to view related record against which Check-In/Check-Out was done.

Rosalina can also select ‘Owner’ as the Category in order to plot Check-In/Check-Out records categorized by field reps. It allows her to view the records by individual field reps.

This way Rosalina can track performance of field team and recognize the star performers in her team. It helps her understand their situation of sales and can come up with new strategies to improve sales even more.
So, start monitoring your Field professionals with the help of this latest feature of Check-In. Upgrade your Maplytics solution and explore the latest enhancements. Click here to download the zip folder for the latest Maplytics solution as per your Dynamics CRM.
Know how to upgrade to the latest solution here.
Happy Mapping!


