While working with Dynamics 365 records, having a geolocational component is always very beneficial. Maplytics is the preferred app on Microsoft AppSource that helps to get geographical insights for the Dynamics 365 data. Getting started with it is a very easy task, a user can simply follow the steps for prerequisites and can start using Maplytics to plot data and perform actions on it.
Maplytics helps to plot all of your Dynamics CRM entity records and enables users to use features like Proximity search, Territory management, Auto Scheduling, and Routing Optimization and many more to get the relevant and required data as the resultant.

While plotting Dynamics 365 data on the map, many times it happens that users notice that all of the records that are in their CRM are not getting plotted on the map. In such cases, one of the main reasons could be that all the records are not geocoded. The most important necessity to plot the CRM records in Maplytics maps is to have the records geocoded i.e., having latitude and longitude values in the records. If the records are not geocoded then the respective records will not get plotted on the map.
So, if the users are noticing that all the records are not getting plotted on the map, the user can check if all the records are geocoded or not. To check this, the users need to go to the Maplytics app > Settings > entity map > Entity map of the required entity > General section > Get Geocode Count. Clicking on the ‘Get geocode count’ button will refresh the values within the two fields, total records, and geocoded records. If there is a difference between these two values, it means that the ‘difference number’ of records are not geocoded. In the screenshot below, we can see that Total Account records in the CRM are 3327 and the geocoded records are only 3030, this means 297 records are still not geocoded.

Now that the users know how many records are not geocoded, they can go to the ‘Advanced Find’ to check which of the records or not geocoded. To do this, we can simply put a query for the latitude and longitude fields as shown below for the respective entity and click on ‘Results’ to see the non-geocoded records. The screenshot below shows the query for Accounts.

Now that the users can see the list of records that are not geocoded, they can select these records and then click on the ‘Run Workflow’ button from the ribbon bar.

They need to choose the ‘Inogic.Maplytics.GeoCoding’ workflow and run it on the records.

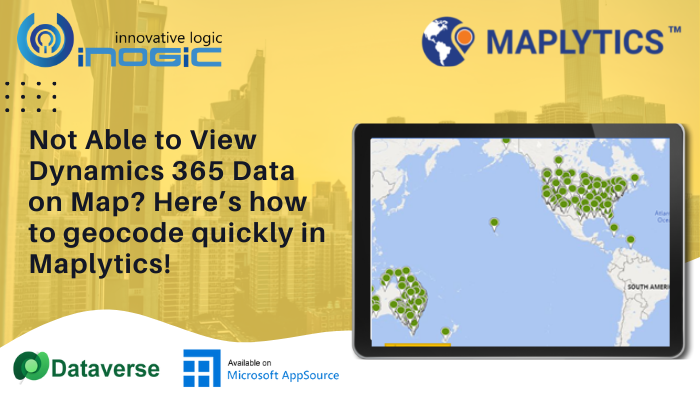
Running the geocoding workflow on the records will geocode the records i.e. getting latitude and longitude values for respective records based on their address. Now that the remaining records are geocoded, users can go to the Detail map and plot all of the records again. They can also cross-check the count of records plotted on the map within the data grid at the bottom of the map. The below screenshots shows that all of the Accounts i.e., a total of 3327 Accounts have been plotted on the map after geocoding the rest of the Accounts as well.

This way users can easily check and geocode the non-geocoded records in order to visualize their required CRM data on the map. With such easier steps, Maplytics has been providing all the geo-analytical features that are user friendly and very easy to use.
Start a free trial of Maplytics and test its features for your mapping requirements. You can also visit our video library to know more about Maplytics. Contact crm@inogic.com to share your mapping requirements and get a free demo session customized to your mapping needs.


