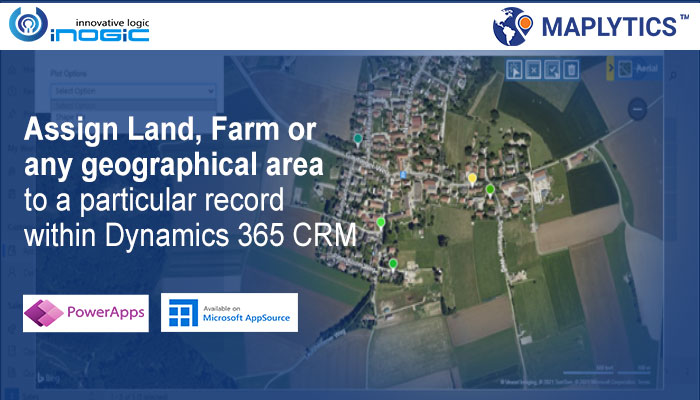
Maplytics May 2021 release has been quite an exciting journey. In this post, we are introducing one of our May 2021 release feature i.e. Land Area Mapping. Using this feature, user can assign the land or farm or any geographical area to the particular record and also visualize the same on the map.
Let’s see how to configure Land Area Mapping feature in Maplytics after you have upgraded to the May 2021 release. First, you need to create a 1:N relationship between Entity and Geography Entity and defined this relationship in entity map for the particular entity.
Once you create and define relationship, then you need to assign the land region to the entity record for which you want to see the land region. For example, if you want to see the land region of the Account record then you need to create a 1:N relationship between the account entity and geography entity.
Steps to map Land Area Mapping attribute in entity map
Maplytics App > Settings> Entity Maps > Accounts Entity map > Attributes Mapping > Geography relationship > Select the 1: N relationship of Geography and Account.

After the configuration, user can see the Land Area Mapping button on the ribbon button. Let’s see how to assign and visualize Land Area to a single record
Open a record and click on more command on the ribbon bar. Here you will see the Land Area Mapping button. Click on the Land Area Mapping button and a new window will open where the user can upload Shapefiles or Excel files or draw shapes for the landscapes on the map as shown in the below screenshot.

Once you plot the region, you need to select the region by selection tool and right-click on the selected region. Then you will see the Assign Land button.
Once the user clicks on the Assign Land button, the below screen will be displayed, where you need to select/fill the geography name and in lookup select respective record for which you want to assign the land area. You can assign land to multiple records also by selecting them from the home grid and then click on Land Area Mapping from the ribbon bar.

Let’s take one use case to understand how Land Area Mapping helps organizations that works for the land or farm industry:
Suppose AgroInd Ltd is a company that supplies equipment to farmers. Sam is the manager and their main pain point is that the location of the client is far away from the actual farming location, and it takes a lot of time to find the exact location as the land and all nearby land is farming land. This makes it difficult to understand the actual area and navigate to that location. Here, with the help of Maplytics, Sam has already configured an assigned area for the respective records. And now Sam wants to visualize all this farm on the map and create a route so that the driver can easily go to the location and find the exact place without any issue.
So, first Sam opens Detail Map and plots all the farms where he wants to provide equipment. Once he plots the records, he just right-clicks on them and selects ‘Show Area’ from the context menu.

Now he will be able to see all farm areas. He will simply right-click on the farm area and add them to the route. As you can see A is the origin of the location and all farm locations are showing on the map.

Here, Sam also has the option to download the map and share it with the driver so that it will help to find the exact farm location.

Apart from this feature, Maplytics May 2021 Release also has amazing advanced features which will help in your geomapping needs.
Also, watch how Maplytics Mobile App is helping Sales Reps when on field.
Download Maplytics today from our website or from Microsoft AppSource for a free trial period of 15 days.
For more information, you can refer to online Maplytics Docs or drop us a mail at crm@inogic.com and we will be happy to assist you.
Happy Mapping and Stay Safe!


