Maplytics is your one-stop solution to visualize Dynamics 365 CRM data on a map and strategize your actions to achieve your targets. While forming any strategy, the most important factor is to have all the information available to make informed decisions. While Maplytics provides Heat maps to analyze your Dynamics 365 CRM data, users can use the Detail map and use various features like Auto scheduling, Radius search, Territory management, etc. to plan their routines and strategies to complete their goals.
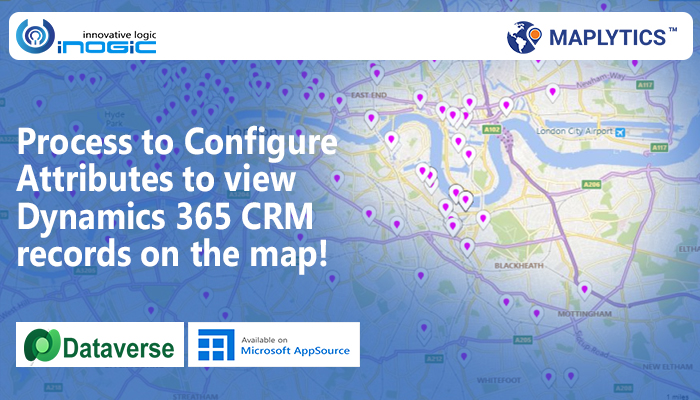
The Detail map provides visualization of Dynamics 365 CRM records in the form of pushpins on the map. Users can view their records based on various search criteria like by location, by region, by drawing, by territory, and by template. The visualization of Dynamics CRM data on the map shows a lot of information about the records on the map itself, which enables the users to create plans right from the map instead of switching to the CRM page.
While the records are plotted on the map, the user can click or hover on the pushpins to see further information about the respective CRM records. This can also be customized to see the desired information of a record. To customize the information on the tooltip card, the System admin or Maplytics admin can go to the Maplytics App > Settings > Entity maps > Respective entity map > Tooltip mapping. Here the admins can select a view from which it will pull the list of the attributes within the space for ‘Available fields’. Here they can select the required fields and add them.

This way all the selected fields will be shown on the tooltip card while the user clicks on the pushpin.

Apart from this, admins can add required attributes to the hover as well. To do this System admin or Maplytics admin can go to the Maplytics App > Settings > Entity maps > Respective entity map > Advanced Settings > Hover Attributes. Here they can select the required attribute and also enter the required display name for the attribute and add it. Thus, all the attributes selected into the list will be shown when a use hovers on the pushpin.


The information about all the data that is plotted on the map is also available in the ‘Data grid’ which can also be exported in an excel format using the Mass Actions. This view comes from the Dynamics 365 data grid itself. If users wish to add more columns to the data grid on the map, they can add the same to the view of Dynamics 365 itself which will automatically be visible into the data grid.

If the users are visualizing Dynamics 365 records within any enclosed shape or regions, for example, using the search criteria like by region, by drawing, or by territory, they can click on the enclosed shape to view the summary card. The summary card shows the sum or average of numerical values of the records present in the selected shape. They can also add more details to this summary card. To do this, they can can go to the Maplytics App > Settings > Entity maps > Respective entity map > Advanced Settings > Summary attributes. Here admins can select the required attribute and choose the option of Sum or Average and also enter the display name if required and then add it.

Thus all the selected attributes will be shown as sum or average on the summary card based on the selection in the settings.

This way users can view records on the map in a more customized way with all the required information available easily and hence make informed decisions while planning out their routines or executing their plans.
Get a free trial today and follow this blog to complete all the prerequisites to get started with Maplytics. Contact crm@inogic.com to share your mapping requirements and get a customized demo for free especially based on your mapping requirements.


